
What Program Do I Use to Print Edible Images? Complete Software Guide 2026
What Program Do I Use to Print Edible Images? Complete Software Guide
From Canva to Photoshop to Microsoft Word — every program that works for edible image design, exactly what settings to use, and the one option that skips the software entirely.
You have a photo, a logo, or an idea for a cake topper design — and you want to turn it into a print-ready edible image. The question most people hit immediately: what program do I use?
The good news: you don't need expensive software or design skills. Almost any design tool — free or paid, on a computer or a phone — can produce a file that works for edible printing if you know the right settings. The even better news: if design software isn't your thing at all, you can skip it entirely and let a specialist service like Custom Edible Sheets prepare your file professionally.
This guide covers every option — from free beginner tools to professional design software — with the exact settings, file formats, and common mistakes to avoid for each one.
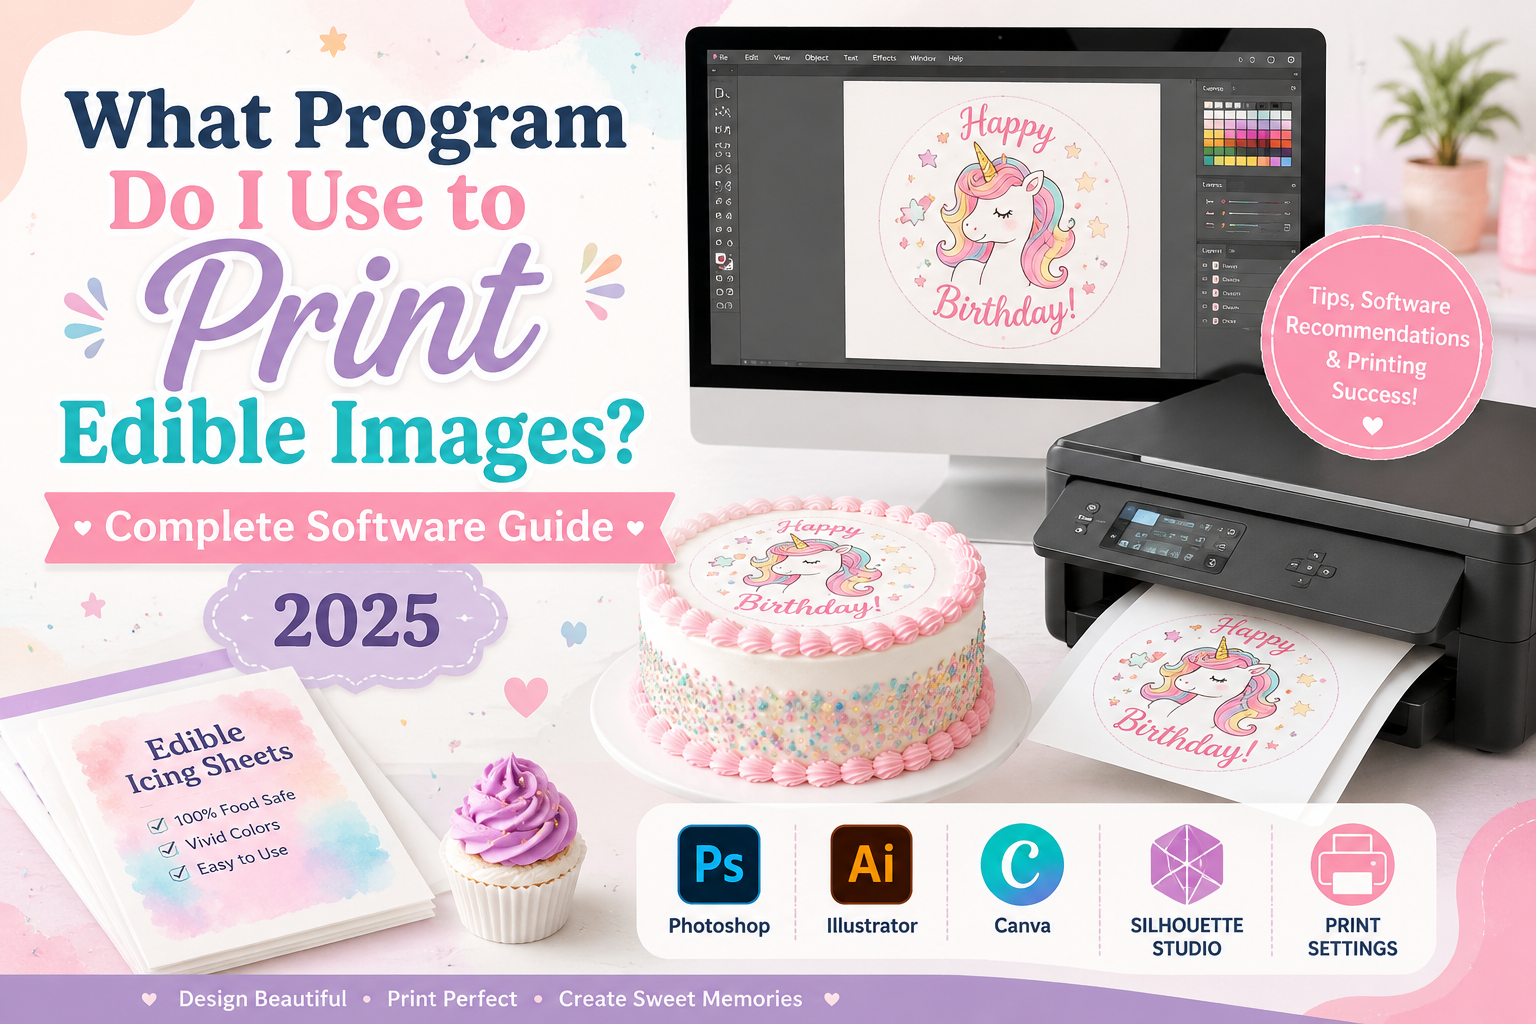
Visual Overview — Which Program Is Right for You?
Option 0 — No Software Needed at All
Before diving into design programs, let's address the most important option: you might not need any software at all.
If you already have a photo, logo, or image you want on your cake, you can upload it directly to Custom Edible Sheets. Our design team handles all the technical preparation — color conversion, resolution optimization, sizing to your exact topper dimensions, and print-file setup. You upload your file, tell us the size and any text you want added, and we ship a professionally printed edible topper to your door.
✅ What Happens When You Upload to Custom Edible Sheets
- A real human designer reviews your file — not an automated script.
- Your image is resized and optimized for your exact topper dimensions.
- Colors are converted to CMYK and calibrated for edible print output.
- Resolution is checked and, where possible, enhanced via AI upscaling.
- If there's a problem with your file, we contact you before printing — never print a bad file without telling you.
- You can request an email proof before we print — we'll send a preview for your approval.
- Turnaround: 1 business day production + shipping time. Rush options available.
This is the right choice for most home bakers, party planners, and anyone who isn't comfortable with design software. The result is consistently more professional than a self-designed file — because our team does this every day.
The Best Programs for Designing Edible Images — All Options Reviewed
If you want to create your own design before ordering — adding text, arranging multiple photos into a collage, adding a decorative border, or building a fully custom layout — here are all your software options, honestly reviewed:
Canva
Browser-based design tool with thousands of templates. The most popular choice among home bakers worldwide — no installation, no design experience needed.
- 100% free for most features
- Runs in any browser — no install
- Thousands of cake/party templates
- Drag & drop photo upload
- Exports PNG and PDF at correct size
- Works on phone and tablet too
- No CMYK export (use PDF for best color)
- Some templates require Canva Pro ($15/mo)
- Less control than Photoshop for complex edits
Adobe Photoshop
The industry-standard for photo editing and graphic design. Gives you full control over every pixel, color profile, and resolution setting — the professional choice.
- Native CMYK color mode support
- Full 300 DPI resolution control
- Advanced photo editing and retouching
- Save as print-ready PDF or TIFF
- Best for complex multi-image collages
- Industry standard — tutorials everywhere
- ~$22/month subscription cost
- Significant learning curve for new users
- Overkill for simple photo orders
Adobe Illustrator
Vector design software — the gold standard for logos, text-heavy designs, and scalable artwork. Pairs perfectly with Photoshop for complex cake topper designs.
- Vector art scales to any size without quality loss
- Best tool for logo-based toppers
- CMYK native color mode
- Precise typography and layout control
- Export as PDF at any resolution
- ~$22/month or Creative Cloud bundle
- Not designed for photo editing (use with Photoshop)
- Steep learning curve
Microsoft Word
Already on most Windows computers. Surprisingly capable for simple edible image layouts — insert a photo, add a text box, save as PDF. Works as a last resort.
- Already installed on most PCs
- Simple image + text layouts work fine
- Save as PDF keeps reasonable quality
- No extra cost for Office users
- No CMYK color control
- Resolution limited — use "Best for printing" PDF export
- Not designed for design work — limited layout tools
- Image compression can reduce quality
Google Slides / Docs
Free, browser-based, and available on any device with a Google account. Similar capability to Word — good for basic photo + text layouts when you have nothing else.
- Completely free with Google account
- No installation — works on any device
- Easy sharing and collaboration
- Download as PDF for submission
- No DPI or CMYK control
- Image export quality varies
- Not designed for design work
- PDF export quality is acceptable but not ideal
GIMP
Free, open-source alternative to Photoshop. Powerful photo editing capabilities with full resolution control — the best free option for users who want professional-level control.
- Completely free — no subscription
- Full 300+ DPI resolution control
- Advanced photo editing and layers
- Export as PNG, TIFF, or PDF
- Large community and tutorial library
- Steeper learning curve than Canva
- CMYK support requires plugin (GIMP doesn't natively support CMYK)
- Interface less intuitive than Photoshop
PicsArt
Popular mobile photo editor and design app for iOS and Android. Good for quick edits, collages, and adding text to photos directly from your phone.
- Excellent mobile design experience
- Strong photo editing and filters
- Collage and sticker tools built in
- Export as PNG (check resolution settings)
- Premium features require subscription
- No DPI or CMYK control
- Export quality needs manual checking
Your Phone Camera (No Editing)
Sometimes the best program is no program. A modern smartphone photo taken in good lighting and uploaded directly — no editing — is often the highest-quality file you can provide for edible printing.
- Modern phones shoot at 12–50 megapixels
- Original JPEG files are high-resolution
- No compression from editing or resaving
- Direct upload — fastest workflow
- Can't add text or design elements
- No layout control or collage capability
- Dark or blurry shots will look worse printed
Software Comparison Table — At a Glance
| Program | Cost | Skill Level | CMYK? | 300 DPI? | Best Export | Best For |
|---|---|---|---|---|---|---|
| Canva | Free / $15/mo Pro | Beginner | ~ PDF only | PDF / PNG | Most home bakers ⭐ | |
| Adobe Photoshop | ~$22/mo | Advanced | ✓ Native | ✓ Native | PDF / TIFF | Professional bakers |
| Adobe Illustrator | ~$22/mo | Advanced | ✓ Native | ✓ Native | Logos & vector art | |
| Microsoft Word | Office 365 | Beginner | ✗ | ~ PDF export | PDF ("Best quality") | Quick text + photo |
| Google Slides | Free | Beginner | ✗ | ✗ | Fallback — use Canva | |
| GIMP | Free | Intermediate | ~ Plugin needed | ✓ Full control | PNG / TIFF | Free pro option |
| PicsArt (Mobile) | Free / Premium | Beginner | ✗ | ~ Check settings | PNG (high quality) | Mobile designs |
| Phone Photo (Direct) | Free | None needed | ✗ | ✓ Native JPEG | Original JPEG | Single photo toppers |
Step-by-Step: How to Design an Edible Image in Canva (Free)
Canva is the tool we recommend to most customers who want to create their own design. Here's the complete workflow — from opening Canva to sending us your file:
Open Canva and create a custom canvas size
Go to canva.com and click "Create a design" → "Custom size." Enter your topper dimensions in inches (e.g., 8×8 for a round topper, 8.5×11 for a full sheet). Canva works in pixels — multiply your inches by 300 to get pixels: an 8" canvas = 2400px. Set width and height accordingly.
Upload your photo or logo
Click "Uploads" in the left panel and upload your image file (JPEG or PNG). Drag it onto the canvas and resize to fill the space. Keep important subject matter centred and at least ¼" away from the outer edge — edges may be trimmed during cutting.
Add text, borders, or design elements (optional)
Use the "Text" tool to add names, ages, dates, or messages. Choose a clear, bold font at least 24pt for readability at print size. Use the "Elements" panel to add borders, shapes, or decorative elements. Keep the design clean — busy designs lose detail in small edible prints.
Check your design at 100% zoom
Zoom to 100% and look at the design as it will print. Is the text readable? Are faces clear? Are there any obvious issues? What looks sharp at full-screen zoom may look blurry if the original photo was low-resolution. Check before downloading.
Download as PDF (Print) — not PNG if possible
Click "Share" → "Download." Choose "PDF — Print" as the file type. This preserves the highest quality and keeps your fonts embedded. If you need PNG, choose PNG and set to the maximum available quality option. Never download as JPEG from Canva — it compresses the file.
Upload to Custom Edible Sheets and order
Upload your PDF or PNG directly on the product page. Select your size, material, and any additional personalization. Our team reviews the file and prints — shipped to your door within 1–5 business days.
Adobe Photoshop — Exact Settings for Edible Print Files
If you use Photoshop, here are the exact document settings that produce the best edible print results:
🎨 Photoshop Document Setup for Edible Printing
- File → New Document: Set width and height to your exact topper size in inches
- Resolution: 300 pixels/inch (minimum) — 400 PPI for very small toppers (under 4")
- Color Mode: CMYK Color — this is critical for accurate edible print color reproduction
- Bit Depth: 8-bit is sufficient for edible printing
- Background: White — never transparent for edible prints
- Export: File → Export → Export As → PDF, or Save As → PDF (Photoshop PDF)
- PDF Preset: "Press Quality" or "High Quality Print" — never "Smallest File Size"
- Bleed: Add 0.125" bleed on all sides if your design extends to the edge
💡 Photoshop Color Tips for Edible Printing
- Set your working color profile to U.S. Web Coated (SWOP) v2 or Coated FOGRA39 for the most accurate CMYK preview.
- Use View → Proof Colors (Ctrl/Cmd+Y) to preview how your design will look in CMYK before exporting — colors shift when converting from RGB screens to CMYK print.
- Very saturated blues (especially #0000FF pure blue) often shift toward purple in CMYK. Adjust before exporting.
- Bright neons and ultra-vivid screen colors are out of CMYK gamut — they'll print more muted. Adjust these to darker, richer values in CMYK mode.
- Deep black in edible printing uses K:100 only — not rich black (CMYK all values high) which can cause muddy results on edible paper.
Universal File Requirements — Works for Any Program
Regardless of which software you use, every edible print file needs to meet these requirements for a sharp, accurate result:
- Resolution: minimum 300 DPI at print size. This is the most important spec. A 2" circle needs at least 600×600 pixels. An 8×10" topper needs at least 2400×3000 pixels. More is always better — less will look blurry.
- Color mode: CMYK preferred. If your program doesn't support CMYK (Canva, Google Slides, Word), use the PDF export option — it converts more accurately than a RGB PNG. Our team will convert to CMYK if needed, but starting in CMYK produces better color accuracy.
- Format: PDF (best), PNG (good), JPEG (acceptable). PDF preserves fonts and vector elements perfectly. High-quality PNG works well for photo-based designs. JPEG introduces compression artifacts — only use at high quality settings (90%+).
- White background — no transparency. Edible paper is white; a transparent background on your file means the white paper shows through. Design with a white (or intentional colored) background, not transparency.
- Exact print dimensions. Size your canvas to the exact topper dimensions you're ordering. Don't design at 4" and hope it scales up — resolution quality degrades when scaled up.
- No screenshots. Screenshots are screen-resolution images (72–96 DPI) — they will print blurry. Always use the original file, not a screenshot of it.
- No social media downloads. Images downloaded from Instagram, Facebook, or WhatsApp are compressed to low resolution. Always use the original camera photo or the original design file.
- Proofread everything. We print exactly what you send. A typo in your design file will be printed as a typo on your topper. Check names, dates, and spelling before submitting.
Common Mistakes to Avoid When Preparing Edible Image Files
⚠️ The Most Common File Mistakes
- Designing at the wrong size and scaling up. If you design a 3"×3" canvas and then ask us to print it at 8"×8", the resolution degrades by 62%. Always design at the final print dimensions from the start.
- Downloading images from social media. Instagram, Facebook, and WhatsApp all compress images significantly. A photo that looks sharp on your phone screen may be 72 DPI at print size — which will look pixelated and blurry when printed. Use the original camera file.
- Using very dark backgrounds expecting them to print dark. Deep blacks and very dark backgrounds print lighter on edible paper than on screen. If your design has a near-black background, expect it to print dark grey to charcoal. Adjust if this matters for your design.
- Saving as JPEG multiple times. Every time you save a JPEG, it compresses further. Edit in PNG or TIFF and only convert to JPEG as the final step — or use PDF to avoid this entirely.
- Using low-contrast font colors. Light grey text on white, pale yellow on cream — these disappear in edible printing. Use high-contrast combinations: black/dark text on white, or white text on dark backgrounds (remembering the dark background print caveat).
- Very small text. Text under 10pt at print size becomes illegible on edible paper. Keep body text at 12pt+ and headline text at 24pt+ for comfortable reading after printing.
- Embedding low-resolution images into Word/PowerPoint. Word and PowerPoint compress embedded images when saving. Even if your original photo was high-resolution, embedding it and saving as DOCX or PPTX degrades it. Export directly as PDF, which preserves more quality.
The Easiest Option: Skip the Software Entirely
If this guide has made you realize you don't want to deal with design software at all — that's completely valid. The simplest, most reliable path to a beautiful edible cake topper is:
🎯 The No-Software Workflow
- Step 1: Find the best photo you have — taken on your phone in good natural light, or the original file of a logo or design.
- Step 2: Go to the Custom Edible Sheets product page.
- Step 3: Select your size, shape, and material (frosting sheet or wafer paper).
- Step 4: Upload your photo directly in the upload field. Add any text (name, message, date) in the personalization box.
- Step 5: Optionally select "Email proof" if you want to see a preview before we print.
- Step 6: Check out. Our design team prepares your file, prints it on food-safe edible paper, and ships it to your door within 1–5 business days.
Frequently Asked Questions
Skip the Software — Let Our Team Handle It
Upload your photo or design directly — our design team prepares it, prints it in full color on food-safe edible paper, and ships it to your door. No software skills needed. Starts at $14.50 with free shipping over $30.
🎂 Order Your Custom Edible Topper Read FAQs