

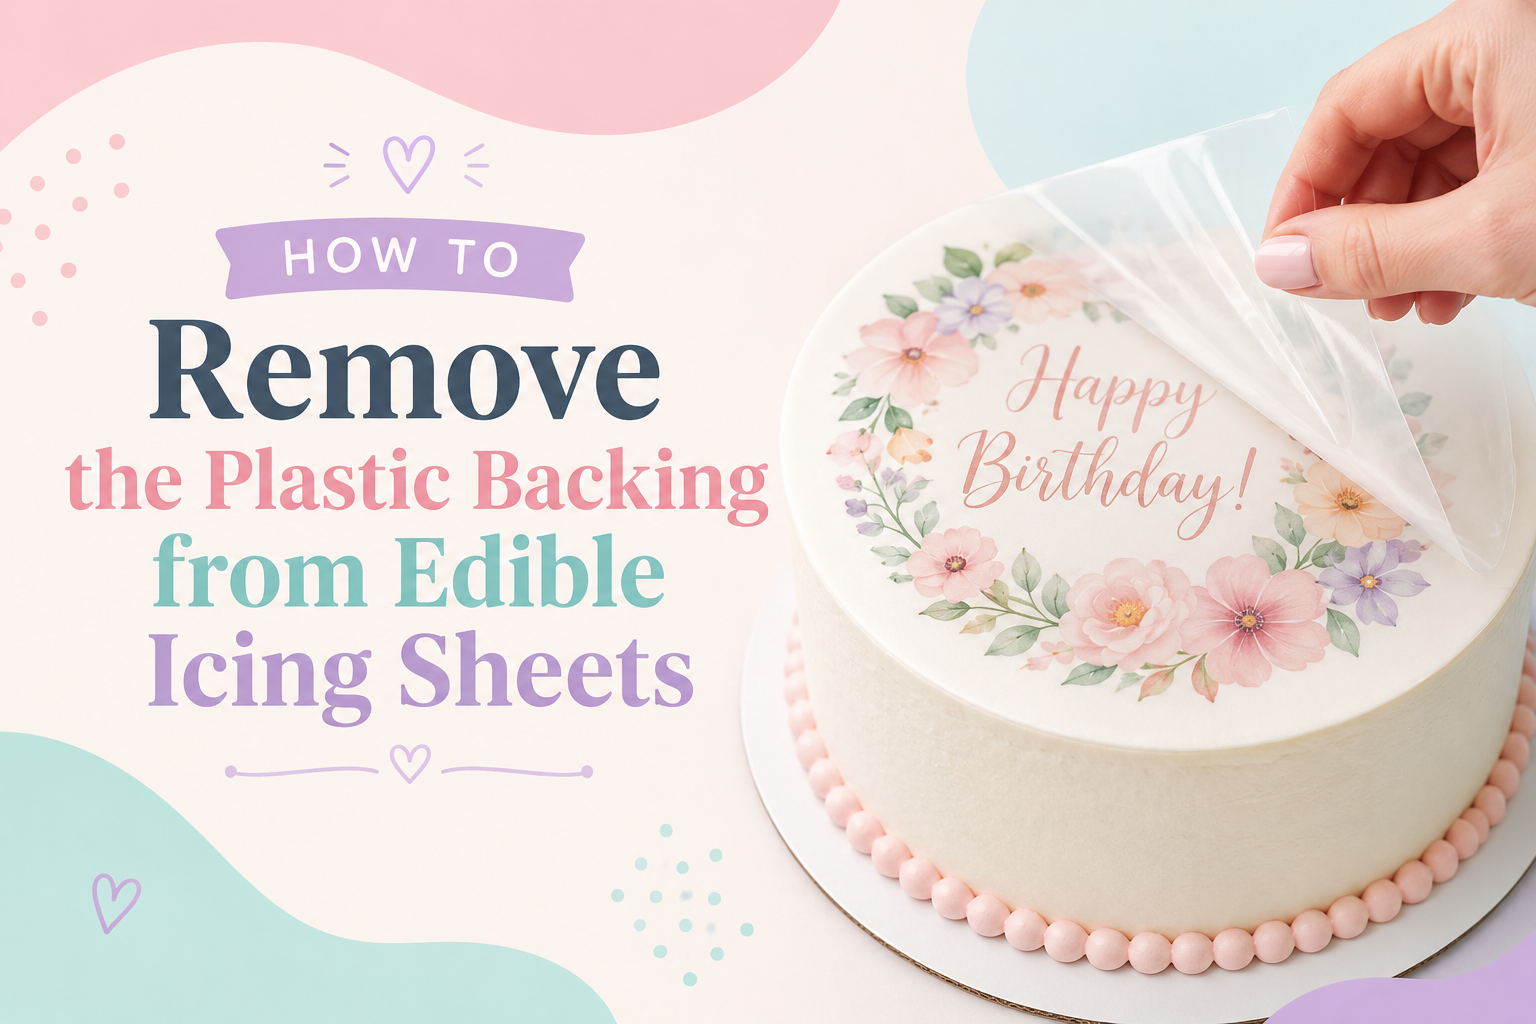
How to Remove the Plastic Backing from Edible Icing Sheets: Step-by-Step Guide for Perfect Cake Decorations
How to Remove the Plastic Backing from Edible Icing Sheets
The complete step-by-step guide to peeling your edible cake topper cleanly, without tearing, cracking, or sticking — from the pros at CustomEdibleSheets.com.
You've ordered your custom edible cake topper, it's arrived looking gorgeous, and now you're standing in your kitchen — holding the sheet and wondering exactly how to get that plastic backing off without ruining it. Don't panic. You're not alone. This is the single most common question we get at Custom Edible Sheets, and the answer is simpler than you think.
In this guide, we'll walk you through the exact technique our team recommends, the most common mistakes people make, what to do if the backing won't peel, and how to apply your topper for a flawless, professional-looking finish.
OverviewThe 5-Step Process at a Glance
Before we go into detail, here's the complete process summarized visually:
Visual GuideSee It Up Close
Click or tap the image below to zoom in for a detailed look at the edible icing sheet and its plastic backing layer:

Edible icing sheet showing the clear plastic backing layer that must be peeled before application. Available at customediblesheets.com
Step-by-StepThe Complete Backing Removal Guide
Follow these steps in order and you'll have a perfectly peeled edible topper every single time.
-
1🌡️ Bring the Sheet to Room Temperature First
This is the most important step and the one most people skip. If your edible sheet has been stored in a cool or air-conditioned space, let it rest at room temperature for 5–10 minutes before attempting to peel it. Cold edible sheets are stiff and brittle — they crack and tear when you try to peel them. A warm, slightly flexible sheet peels cleanly and effortlessly. Do not microwave or apply heat directly — just let it sit naturally.
-
2📐 Locate a Corner and Gently Flex the Sheet
Hold the sheet with one hand on each side and gently flex it — just a small bend — to loosen the bond between the icing sheet and the plastic backing. You should see the backing begin to separate from the edible layer. Start at one of the corners: look for a corner where the backing appears to separate naturally, or gently use your fingernail to lift a tiny edge of the clear plastic backing away from the printed icing surface.
-
3✋ Peel Slowly, Keeping the Angle Low and Flat
This is where technique matters most. Peel the plastic backing slowly and at a low, almost flat angle — think of it like peeling a sticker off a smooth surface. Do NOT pull straight up or at a sharp 90° angle; this causes the icing sheet to crack or tear along the middle. Keep the backing pressed close to the table as you pull it away, while the edible sheet stays flat. Go slow, go steady, and let the backing peel away at its own pace.
-
4👀 Check for Any Stuck Sections and Pause
As you peel, keep an eye on the icing sheet. If any section of the edible layer seems to be sticking to the backing and coming off with it, stop immediately and gently press that section back down. Don't force it — let it settle for a moment, then resume peeling even more slowly from that point. Never yank or rip.
-
5🎯 Place the Topper Immediately on Your Frosted Cake
Once the backing is fully removed, don't leave the bare edible sheet sitting in the air for long — it can dry out quickly and become brittle. Place it directly onto your frosted cake immediately. Center it carefully, then lay it down from one edge to the other in a slow, rolling motion to prevent air bubbles.
-
6🤲 Smooth Gently from Center Outward
Using clean, dry fingertips, gently press and smooth the topper from the center outward toward the edges. This pushes out any trapped air bubbles and ensures full contact with the frosting surface. Any small remaining bubbles will settle and disappear on their own within 5–10 minutes as the edible sheet softens and adheres to the frosting.
Total Time: Under 2 Minutes
Once you've done it once, the whole process — from opening the sleeve to having the topper on your cake — takes under two minutes. The key is patience during the peel. Slow = clean every time.
PrepBefore You Start — Make Sure Your Cake Is Ready
The best edible topper application always starts with a properly prepared cake surface. Here's what you need before you even open the packaging:
- Your cake is freshly frosted with a smooth, slightly tacky surface — buttercream, fondant, whipped cream, ganache, or cream cheese frosting all work perfectly.
- The frosting surface is smooth and level. Bumpy or heavily textured frosting can cause uneven contact, especially at the edges.
- The frosting is not dry or crusted. If your cake has been sitting uncovered for several hours, lightly mist the surface with water using a spray bottle to restore tackiness.
- Your hands are clean and completely dry. Wet or oily hands can transfer moisture to the icing sheet and cause smearing or color bleed.
- The edible sheet has been stored flat in its protective sleeve until you're ready to use it.
- You've measured your cake top to confirm the topper fits with a small border on all sides.
Common MistakesWhat to Do vs. What Not to Do
These are the most common errors people make when peeling edible sheets — and the easy fix for each:
TroubleshootWhen Something Goes Wrong — Solutions
Even with the best technique, sometimes things don't go perfectly. Here's how to fix the most common issues:
| ⚠️ Problem | ✅ Solution |
|---|---|
| Backing won't separate from the icing sheet | The sheet is too cold or too moist. Leave flat at room temperature for 10 more minutes. Gently flex the sheet to loosen the layers, then try again from a different corner. |
| The icing sheet is cracking as I peel | You're peeling in cold or dry conditions. Warm the sheet slightly by holding it in your palms for 30 seconds. Peel even more slowly and at a flatter angle. |
| Part of the design is sticking to the backing | Stop pulling immediately. Press the stuck section gently back onto the icing sheet, let it rest 2 minutes, then resume peeling from a different starting point at an even flatter angle. |
| Topper has air bubbles after placement | Use dry fingertips to smooth from center to edges. Small bubbles will disappear on their own within 5–15 minutes as the sheet softens and bonds to the frosting. |
| The topper is sliding on the cake | Your frosting is too smooth or oily (common with whipped cream). Place the topper and immediately refrigerate for 10–15 minutes to set the bond before moving the cake. |
| Colors are bleeding or smearing | Moisture is the culprit — from condensation, wet frosting, or wet hands. Always apply on a dry frosting surface with dry hands. Avoid refrigerating after application unless necessary. |
| The sheet tore — can I still use it? | Often yes! If the tear is in a less visible area, carefully position the pieces to line up on the cake. The frosting will hold them in place and a small gap may not be noticeable once cut. |
StorageHow to Store Your Edible Sheet Before Use
Proper storage is just as important as proper application. Here's how to keep your edible topper in perfect condition until you're ready to use it:
Best Timing for Application
The sweet spot is 12–24 hours before your event. This gives the topper enough time to fully bond with the frosting while keeping it fresh and vibrant for the party. If you apply it further in advance, wrap the cake loosely in plastic wrap and keep it in a cool, dry place — not the fridge.
SafetyIs It Safe to Eat? Yes — Here's Why
All edible cake toppers from Custom Edible Sheets are printed with certified food-safe edible ink on premium icing sheets. The backing layer is the only non-edible part — once that's removed, everything on your cake is 100% safe to consume.
The edible icing sheet has a subtly sweet, neutral taste that blends seamlessly with any frosting. Most guests won't even notice it as a separate element — it simply melts into the top layer of frosting as they eat. You can cut and serve right through it with any standard cake knife.
FAQYour Questions Answered
Do I need any tools to remove the backing?
No — no tools required at all. Just your clean, dry hands. A fingernail to lift the corner is all it takes. Using scissors, knives, or spatulas risks cutting or damaging the edible sheet itself.
What if the backing is stuck and won't come off at all?
Leave the sheet at room temperature for 10–15 minutes, then very gently flex the corners to loosen the layers. Start with the corner that flexes most freely. If it's still extremely difficult, the sheet may have been exposed to humidity — contact us and we'll help.
Can I peel it off and then reattach the backing if I'm not ready to use it?
No — once the backing is removed, don't try to reattach it. The edible sheet will stick to itself and become impossible to separate cleanly. Only peel the backing immediately before you're ready to apply it to the cake.
Does the type of frosting affect how the topper adheres?
Yes, slightly. Buttercream and fondant provide the best adhesion. Whipped cream and ganache work well too. Very oily or thick frosting may be slippery — refrigerating immediately after application helps. Avoid applying directly to dry or set fondant without lightly misting the surface first.
Can I put the cake in the refrigerator after applying the topper?
We recommend keeping the cake at room temperature after applying the topper when possible. If refrigeration is necessary, place the cake in a large cake box first to protect it from condensation, and avoid any direct contact with the topper. Bring it to room temperature 30 minutes before serving.
What if I accidentally got the edible sheet wet?
Small amounts of moisture — like a slightly damp frosting surface — are usually fine and help with adhesion. But if significant water gets on the bare icing sheet itself, it can dissolve and smear the colors. If this happens before application, unfortunately the sheet may not be salvageable. Contact our support team and we'll work with you on a solution.
🎂 Shop Custom Edible Cake Toppers
Hundreds of personalized designs for every celebration — birthdays, baby showers, weddings, graduations, and more. Professionally printed and shipped within 1 business day.
🛒 Browse All Designs at CustomEdibleSheets.comSummaryYou've Got This!
Removing the plastic backing from an edible icing sheet is one of those things that feels intimidating the first time and completely effortless after that. The key is room temperature, patience, and a low peeling angle. Master those three things and every topper you apply will look like it was done by a professional bakery.
If you ever run into trouble or have questions about your order, our team at Custom Edible Sheets is always here to help. We've been doing this for over 10 years and we love hearing how your cakes turn out!
📌 Save This Guide: Bookmark this page or screenshot the step-by-step infogram so you always have it handy on party day — no more guessing!