

How to Apply an Edible Image to a Cake Without It Cracking
How to Apply an Edible Image to a Cake Without It Cracking
Your complete, expert-backed guide to flawless edible prints — no cracks, no bubbles, no stress.
Edible image sheets are one of the most stunning ways to personalize a cake — but applying them without cracking is the #1 challenge bakers face. Whether you're a home baker or a professional pastry chef, this guide walks you through every step so your edible prints look flawless every single time.
What Is an Edible Image Sheet?
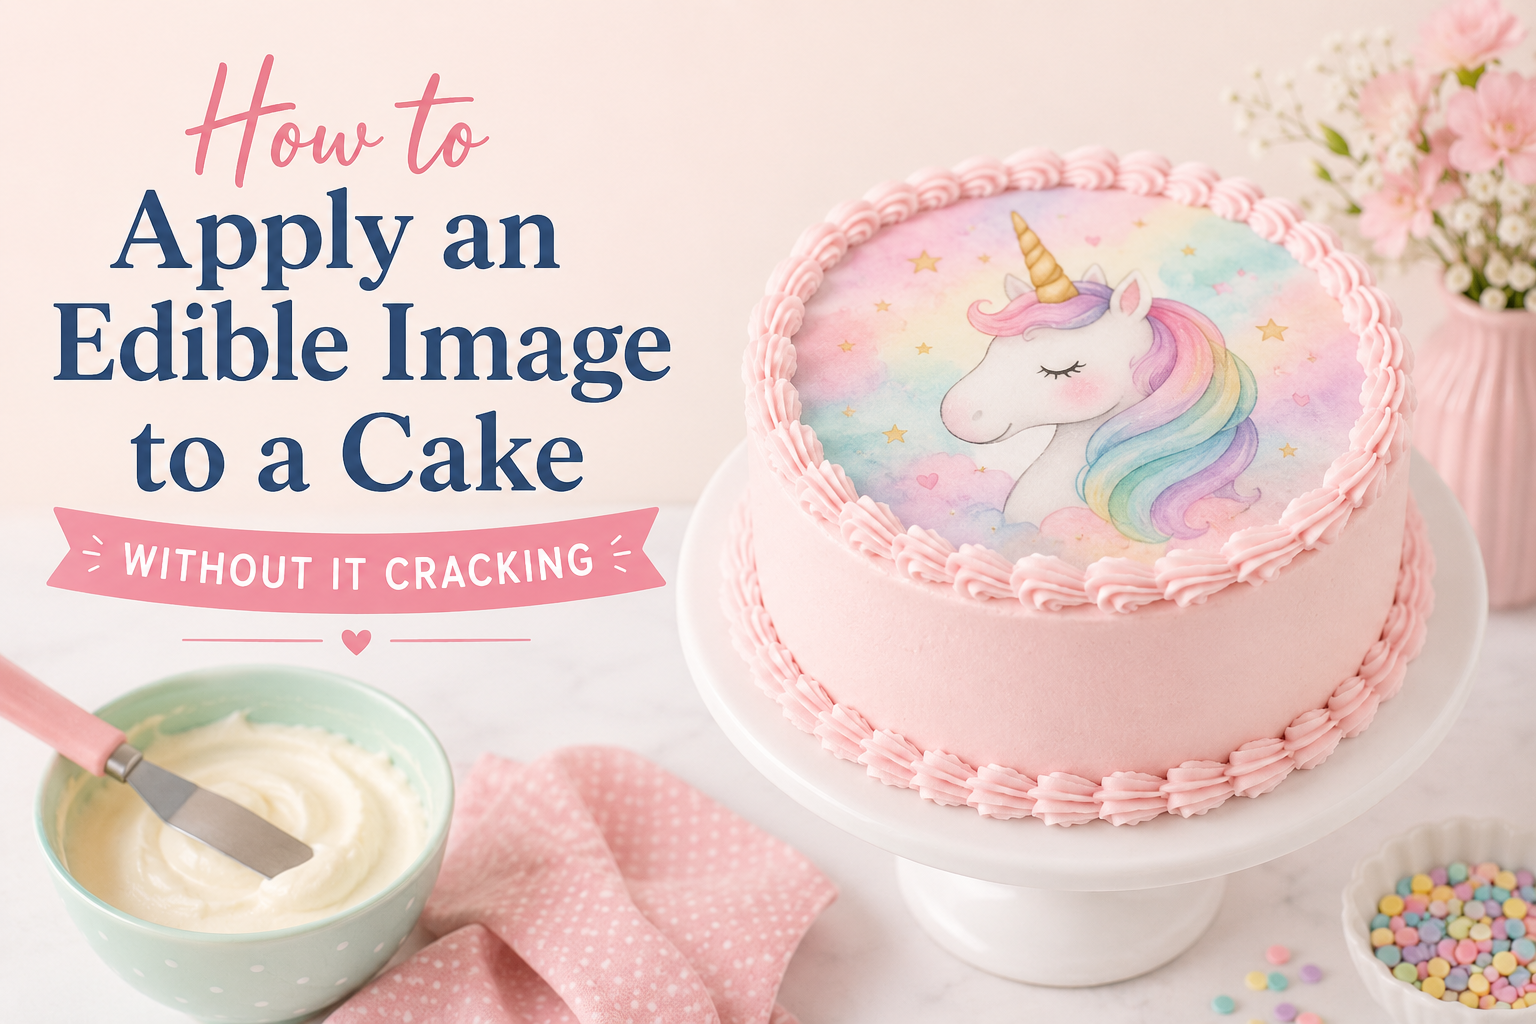
An edible image — also called an edible photo or edible print — is a design printed with FDA-approved food-coloring inks on a thin sheet of icing or wafer paper. At CustomEdibleSheets.com, all prints use premium frosting sheets that flex, blend seamlessly, and taste great.
They're perfect for:
- Birthday cakes with personalized photos
- Wedding & anniversary cakes with floral or monogram designs
- Baby shower and gender reveal cakes
- Corporate logo cakes for events and promotions
- Holiday and seasonal themed cakes
Why Do Edible Images Crack?
Before fixing the problem, understand why cracking happens. Edible sheets are sugar-based and sensitive to their environment. The most common causes:
What You'll Need
Step-by-Step: How to Apply an Edible Image Without Cracking
Store Your Sheet Correctly Until Ready
Keep the edible image in its sealed packaging until the very last moment before application. Store it flat in a cool, dry place — never in the refrigerator, which dries it out. Cold and dry air is the number-one cause of cracking before you even touch the cake.
Prepare the Perfect Frosting Surface
Edible images adhere best to buttercream, cream cheese frosting, or fondant. The surface must be smooth, even, and slightly tacky — not dry, not wet. Lightly mist with water if too dry, or let the cake sit uncovered 10–15 minutes if too sticky.
Chill the Cake to the Right Temperature
Refrigerate your frosted cake for 15–30 minutes before applying the sheet. A slightly firm, cool surface helps the image lay flat without slipping. Do not apply to a frozen or condensation-covered cake — moisture will dissolve or slide the image.
Open the Package Gently & Let It Acclimate
Open the sealed bag slowly and remove the edible sheet with clean, dry hands. Lay it flat for 2–3 minutes to acclimate to room temperature. This reduces cracking when you handle it. Never bend or roll it sharply.
Trim If Needed — Before Peeling the Backing
If your sheet needs trimming, do it before removing the backing paper. Use sharp scissors and cut gently. Trimming after removing the backing risks cracking and tearing the delicate sheet.
Peel the Backing Slowly and Carefully
Peel from one corner at a very shallow angle — almost parallel to the image, not pulling straight up. Hold the edible sheet steady with one hand while the other peels. If any part sticks, do not force it — gently encourage it with a flat edge.
Place the Image in One Confident Motion
Lower the edible sheet onto the cake surface working from the center outward, or from one edge smoothing toward the other. Don't reposition multiple times — each adjustment risks cracking. Think of it like placing a sticker: one precise, confident placement.
Smooth Out Bubbles & Edges Gently
Using a smooth paper towel or the flat of your palm, press gently from the center outward to eliminate air bubbles. Apply light, even pressure — never press hard directly on the image. For edges, tuck them down with a clean offset spatula.
Let It Set — Then Serve
Allow the image to fully adhere by letting the cake sit at room temperature for 10–15 minutes before serving or boxing. The edible sheet softens slightly and bonds beautifully, blending almost invisibly into the frosting surface.
Pro Tips for a Flawless Finish
Work at 60–70% relative humidity. In very dry or air-conditioned rooms, breathe lightly over the back of the sheet just before application to add a tiny bit of moisture — this keeps it pliable and prevents cracking.
Freshly smoothed buttercream has natural tackiness, so no adhesive is needed. Its slight give also makes it forgiving for tiny adjustments right after placement.
Fondant is less tacky than buttercream. Brush a very thin layer of piping gel or corn syrup on the fondant surface before laying down your sheet. This creates the perfect bond without over-wetting.
Apply no more than 24 hours before the cake will be seen or cut. For the best photo-quality results, apply 1–4 hours before serving. The longer it sits, the more moisture it absorbs from the frosting.
For images that cover an entire cake layer, have a helper hold one end while you position the other. Work in one sweeping motion rather than sections, which can create visible seams.
Frosting Compatibility Guide
| Frosting Type | Compatibility | Notes |
|---|---|---|
| American Buttercream | ✓ Best | Natural tackiness, very forgiving. Ideal for beginners. |
| Swiss / Italian Meringue Buttercream | ✓ Great | Smooth finish, slightly less tacky. Chill cake first. |
| Fondant | ✓ Good | Use a thin layer of piping gel as adhesive. |
| Whipped Cream | ⚠ Tricky | Too moist. Apply right before serving only. |
| Cream Cheese Frosting | ✓ Good | Works well when chilled. Apply quickly. |
| Ganache (cooled) | ✓ Good | Allow ganache to set and cool fully before applying. |
| Royal Icing (fully dry) | ✓ Good | Brush lightly with water to create adhesion. |
| Bare / naked cake | ✗ Avoid | No adhesive surface — image will not stick properly. |
Troubleshooting Common Problems
My edible image is cracking as I peel it
The sheet is too dry. Breathe gently over the back of it, or place it in a slightly humid room for 1–2 minutes before continuing. In very dry climates, cover your work area with a light kitchen cloth to trap ambient humidity.
The image is not sticking to the cake
Your frosting surface may be too dry or too cold. Bring the cake to room temperature for 5–10 minutes. If using fondant, apply a thin layer of piping gel before placement.
There are air bubbles under the image
Smooth from the center outward with a clean paper towel. For stubborn edge bubbles, gently lift that edge and re-smooth. For a center bubble in a large image, use a clean toothpick to make a tiny prick and press the air out.
The image is sliding around on the cake
Your frosting surface is too warm or too wet. Chill the cake an additional 10–15 minutes and try again. Ensure your hands are clean and dry before handling the sheet.
Colors look faded or washed out after application
This is a moisture issue — excess frosting moisture absorbs into the sheet. Ensure the cake surface has the right consistency before applying. Our premium sheets at CustomEdibleSheets.com use vibrant, water-resistant food-safe inks for the best results.
Frequently Asked Questions
Quick Application Checklist
- Edible image stored sealed until the last moment
- Cake frosted smoothly with the right frosting type
- Cake chilled 15–30 minutes before application
- Sheet opened gently and allowed to acclimate 2–3 min
- Any trimming done before backing removal
- Backing peeled slowly at a shallow angle
- Image placed confidently in one smooth motion
- Bubbles smoothed from center outward
- Cake allowed to set 10–15 min before serving
Ready to Create Your Perfect Cake?
Shop our full range of premium edible image sheets — vibrant colors, food-safe inks, and custom sizing for every cake. Free shipping on orders over $35.
🎂 Shop Edible Sheets Now